
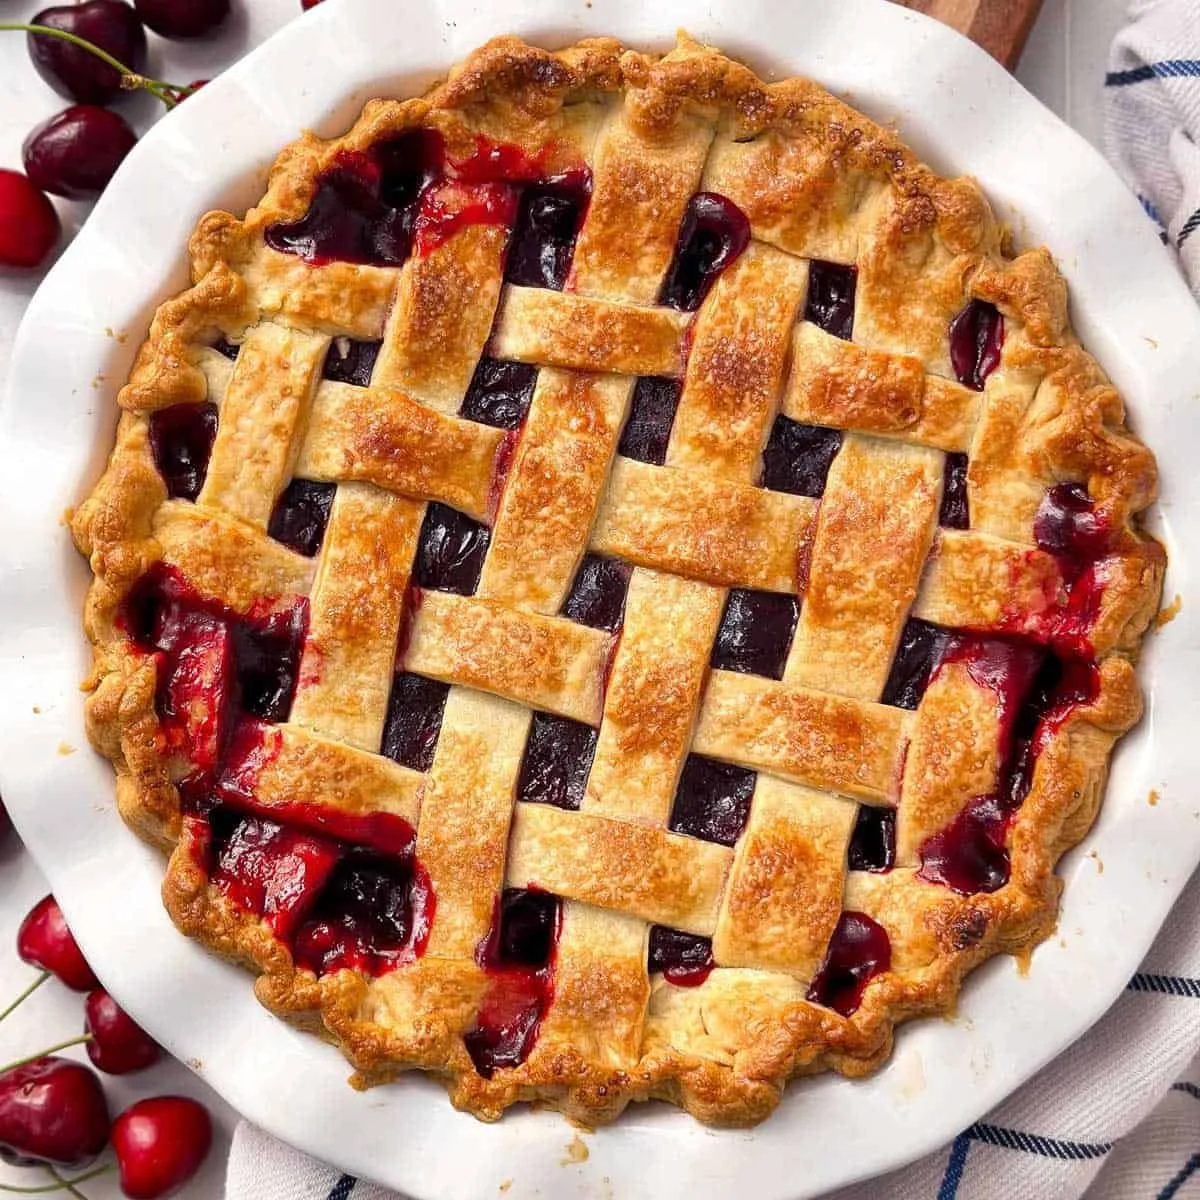
Classic Cherry Pie
Classic Cherry Pie is a delightful dessert that brings together the vibrant, juicy flavors of cherries with a flaky, buttery crust. This recipe is perfect for anyone looking for a step-by-step guide to crafting a comforting and nostalgic treat that can easily evoke sweet childhood memories. With its beautiful lattice top and rich filling, this pie is not only easy to prepare, but it also makes any gathering feel special, from family dinners to holiday celebrations.
Ingredients
For our Classic Cherry Pie, you will need the following ingredients:
- 1 pie crust for double crust pie: A wonderfully flaky shell makes the perfect base for our vibrant cherry filling.
- 5 cups pitted sweet or sour cherries: Choose from fresh (about 1.5-2 lbs), frozen, or canned cherries. The juicy, plump fruit adds both flavor and color.
- 1 cup sugar: This sweetener will enhance the natural sweetness of fresh cherries. For sweet cherries, consider using 3/4 cup.
- 1 teaspoon vanilla extract: Adds a rich, aromatic flavor that complements the cherries beautifully.
- 1/8 teaspoon almond extract (optional): This adds a delightful nutty note that pairs exceptionally well with the cherries.
- 1/2 teaspoon ground cinnamon (optional): A hint of warmth from cinnamon can elevate the flavor profile.
- 1/8 teaspoon salt: To enhance the sweetness and balance the flavors.
- 1/4 cup cornstarch: This is used to thicken the filling and achieve that perfect, jammy consistency.
- 4 tablespoons cool water: To mix with cornstarch to create a slurry that thickens our filling.
- 2 tablespoons lemon juice: Fresh acidity brightens the sweetness of the cherries.
- 1 egg white: Mixed with water for a beautiful glaze on the pastry.
- 1 teaspoon granulated sugar (or more to taste): For sprinkling on top, adding a touch of crust sweetness.
Step-by-Step Directions
Note About Crust
If you are making a homemade crust, ensure to prepare it at least 2 hours in advance to allow for adequate chilling time, which is essential for a flaky pie crust.
Cooking the Cherries
Begin by placing the pitted cherries in a wide pan. Add the sugar, vanilla extract, almond extract, cinnamon (if using), and salt. Bring this mixture to a boil over medium-high heat. Once boiling, reduce the heat to medium-low and let it simmer, uncovered, for about 5-10 minutes until the cherries have released their juices.
Thickening the Filling
While the cherry mixture is simmering, whisk the cornstarch into the cool water to create a slurry. After the cherries have simmered, remove the pan from the heat. Quickly stir in the cornstarch slurry, making sure to incorporate it fully into the cherry juices. Return the pan to medium-low heat and simmer for another 2-3 minutes until the juices have thickened.
Taste and Adjust
Once heated, taste the cherry filling and adjust as needed – adding a bit of lemon juice can brighten the flavors. If the filling appears too thick, thin it out with a tablespoon or two of water. Conversely, if it seems too runny, thicken it with a touch more cornstarch slurry. Remember, the filling will thicken further as it cools, so aim for a jammy consistency.
Cooling the Filling
After thickening, allow the cherry filling to cool completely to room temperature. For faster cooling, transfer it to a wide shallow bowl, stirring occasionally.
Preparing the Bottom Crust
Once your pie crust has chilled for at least 2 hours and the filling has cooled, it’s time to assemble. Start by placing a well-buttered 9-inch pie dish in the freezer for 15 minutes. Roll out the bottom crust between two sheets of baking parchment or plastic wrap into a circle 10 inches in diameter. Fit this into the pie dish, leaving the overhang attached. Put it back in the fridge to chill for an additional 15 minutes.
Prepping the Oven
While your bottom crust is chilling, preheat your oven to 425°F. Additionally, place a foil-lined baking sheet in the lower third of the oven – this will catch any drips that may occur while baking.
Creating the Top Crust
Next, roll out the top crust into another 10-inch circle using the same method as the bottom crust. Cut this dough into strips that are 1/3 to 1/2 inch wide. Place these strips in the fridge until you’re ready to use them.
Assembling the Pie
Once your chilled dish with the bottom crust is ready, spread the cooled cherry filling evenly within. Remove any air bubbles or gaps for an even filling. Next, arrange the top crust strips in a lattice weave on top of the cherries (check out the images in the accompanying post for a visual guide). Fold the overhanging edges from the bottom crust and lattice over to create a decorative edge, crimping to seal. Brush the top crust with the egg white wash and sprinkle with granulated sugar for an extra touch of sweetness.
Baking the Pie
Place your assembled pie dish on the prepared baking sheet in the preheated oven. Bake at 425°F for 15-20 minutes. After this time, reduce the heat to 375°F without opening the oven door, and continue baking for another 30-40 minutes. Keep an eye on it; if the edges start to darken too quickly, cover them with foil or a pie shield. The pie is ready when the crust is golden brown and buttery, and the filling bubbles enticingly around the edges.
Cooling the Pie
Once baked, turn off the oven and remove the pie using thick oven mitts, being cautious of the scorching hot oven. Let it cool on a rack for at least 2 hours, allowing it to reach room temperature before slicing and serving.
Tips & Tricks
- If you’re short on time, using premade pie crust can be a huge time-saver. Look for high-quality options for the best results.
- For a more robust cherry flavor, mix sweet and sour cherries for a delightful contrast.
- Don’t forget to handle your crust gently. Overworking the dough can lead to a tougher texture.
- Serve your pie with a scoop of vanilla ice cream or whipped cream for an extra touch of indulgence!
Serving Suggestions & Pairings
Classic Cherry Pie is best enjoyed fresh out of the oven, but it’s also a fantastic make-ahead dessert. Pair it with whipped cream or a scoop of vanilla ice cream for a deliciously comforting dessert. It’s perfect for summer barbecues, family gatherings, or even holiday dinners. Your guests will be delighted with each sweet, tart bite!
Nutritional Information
This Classic Cherry Pie serves about 8 slices. Each slice contains approximately 300 calories, along with moderate amounts of carbohydrates and sugars. Balance is key; enjoy a slice as part of a meal with healthy components. Pair it with some fresh fruit or a light salad to maintain a balanced diet.
Storing Tips & Variations
To store your Classic Cherry Pie, cover it loosely with aluminum foil or plastic wrap and keep it in the refrigerator. It can last for about 3-4 days. If you want to freeze the pie, wrap it securely in plastic wrap and foil before placing it in the freezer. To reheat, bake it from frozen at 350°F until warmed through.
Consider various variations such as adding a spoonful of almond flour to the crust for an aromatic twist, or mixing in spices like nutmeg or ginger for a spiced cherry filling.
Conclusion
Classic Cherry Pie is a timeless dessert that promises to be a crowd-pleaser. We encourage you to try making it yourself and share your experiences. Whether it’s for a special occasion or just a cozy night in, this pie will surely warm your heart and satisfy your sweet cravings.
FAQs
1. Can I use frozen cherries for this pie?
Yes, frozen cherries work beautifully! They can be used directly without thawing; just note that you may need to adjust sweetness depending on their natural flavor.
2. What’s the best way to ensure a flaky crust?
Chill your ingredients and utensils beforehand, and avoid overworking the dough. Keep your butter cold and incorporate it quickly to achieve that flaky texture.
3. How can I tell when my pie is done baking?
Look for a golden brown crust and bubbling juices where the filling is. The internal temperature should reach about 190°F.
4. Can I make this pie gluten-free?
Absolutely! Substitute all-purpose flour with a gluten-free flour blend, ensuring to check the blend’s instructions for best results.
5. How do I fix a runny cherry filling?
If your filling is too runny, mix a little cornstarch with cold water to form a slurry and stir it into the mixture while heating until thickened.
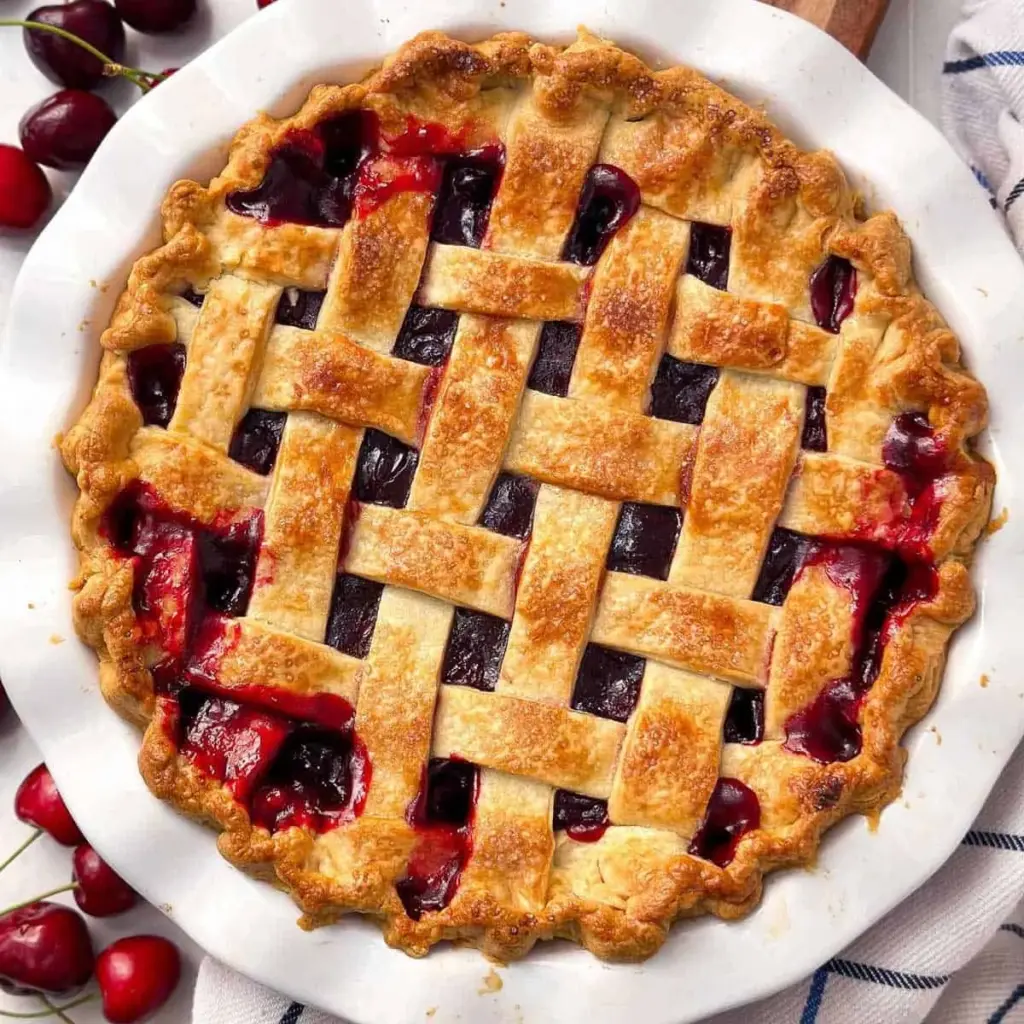
Classic Cherry Pie
Ingredients
Method
- If using a homemade crust, prepare it at least 2 hours in advance to chill.
- Place pitted cherries in a wide pan, add sugar, vanilla extract, almond extract, optional cinnamon, and salt.
- Bring to a boil over medium-high heat, then reduce to medium-low and simmer uncovered for 5-10 minutes until juices are released.
- Whisk cornstarch into cool water to create a slurry.
- Stir slurry into cherry mixture and return to medium-low heat, simmering for an additional 2-3 minutes until thickened.
- Allow filling to cool completely at room temperature.
- Butter a 9-inch pie dish and freeze for 15 minutes.
- Roll out the bottom crust into a 10-inch circle and fit into the dish, leaving overhang. Chill for another 15 minutes.
- Spread cooled cherry filling evenly in the bottom crust.
- Roll out top crust into another 10-inch circle, cut into strips for lattice, and chill.
- Arranging lattice on top, fold overhanging edges from bottom crust overtop for decor, crimp to seal, brush with egg wash, and sprinkle with sugar.
- Bake in preheated oven at 425°F for 15-20 minutes, then reduce heat to 375°F and bake for another 30-40 minutes.
- Let the pie cool for at least 2 hours before slicing and serving.


Leave a Reply