
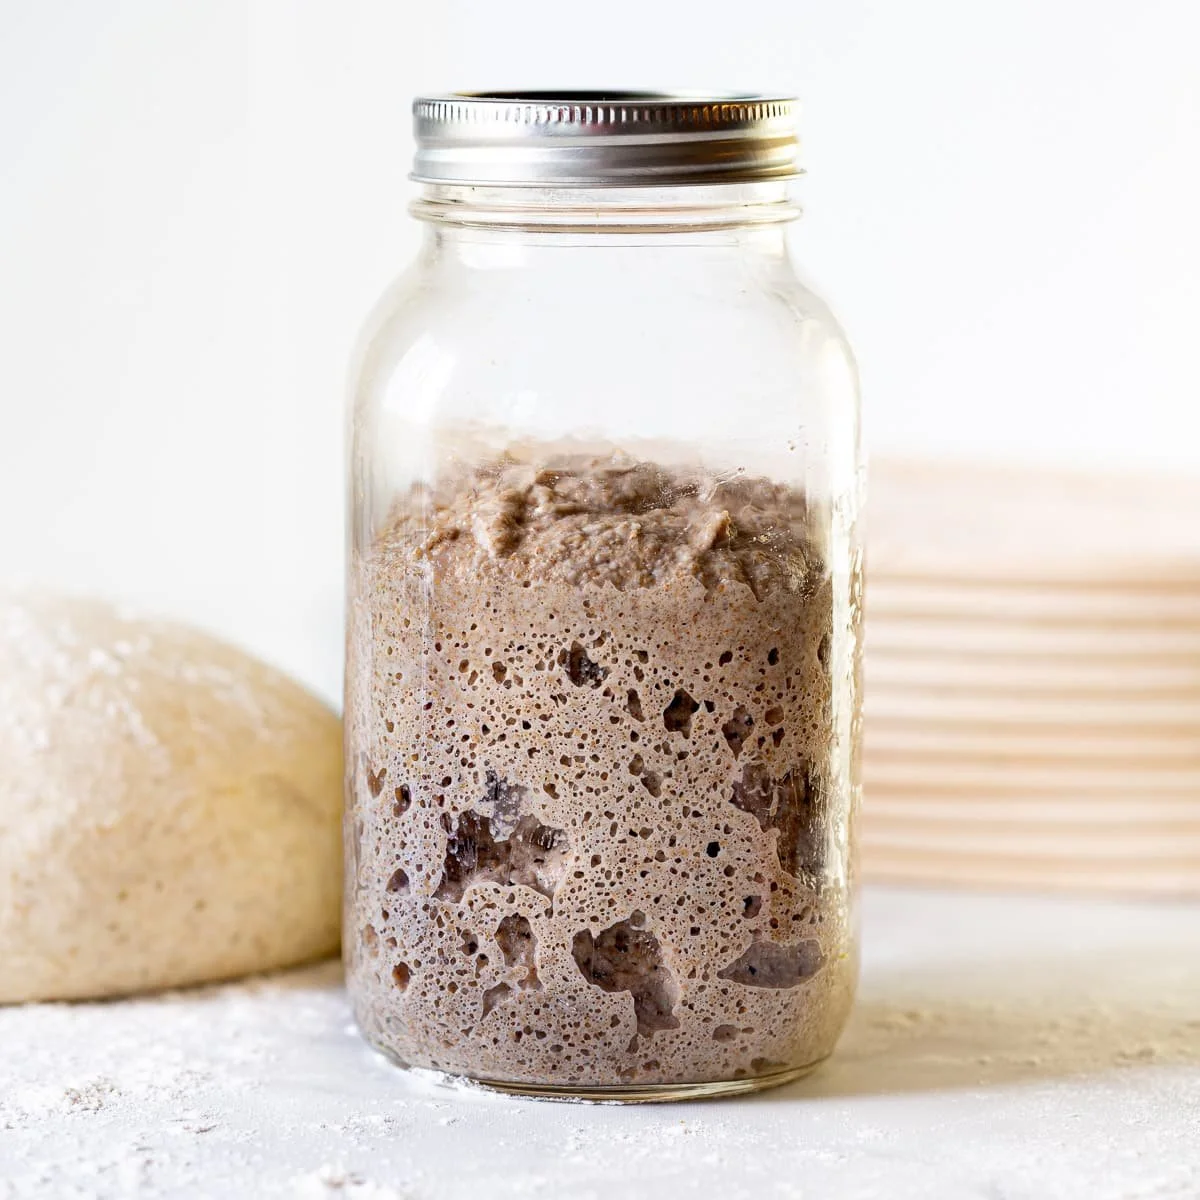
Sourdough Starter Recipe is truly a delightful project for any home baker, offering the chance to craft a living ingredient that brings foundational flavors to your bread-making. The gentle tang, the nuance of flavor, and the aromas of freshly baked bread evoke feelings of warmth and comfort, transporting you to a cozy bakery with every loaf. Creating your own sourdough starter is easier than you might think, and this step-by-step guide will help you through the process, ensuring success with each step. Plus, the anticipation of nurturing your starter until it’s ready to bake with is part of the fun!
Ingredients
To create the perfect sourdough starter, it all begins with just two essential ingredients that work together to cultivate the right environment for wild yeast and beneficial bacteria to grow. You’ll need:
-
Rye Flour (175 grams or 1¾ cup): This flour is rich in nutrients, providing a perfect environment for the microorganisms you want to cultivate. Its earthy aroma and slightly sweet flavor make it an ideal choice for a robust starter.
-
Room Temperature Water (175 grams, or ½ cup + 3 tablespoons + 2 teaspoons): The water should be clean and free from any impurities. Its role is to hydrate the flour, creating that creamy mixture which allows the yeast to thrive.
Step-by-Step Directions
Important Note: I do not recommend using cups/tablespoons to make this starter because they are not accurate enough. At no point in this process should you discard any of the starter.
Day 1: Begin by selecting a clean jar or container between 750 ml (25 oz) and 1 liter (34 oz) in size. Add 25 grams (3 tablespoons + 2¾ teaspoons) of rye flour, followed by 25 grams (1 tablespoon + 2 teaspoons) of room temperature water. Mix until you can no longer see any dry flour and level it off. Cover the jar loosely with its lid, ensuring it’s not tightly sealed, and place an elastic band around the jar at the level of the mixture to monitor its growth. Find a sheltered spot to leave your starter for about 24 hours, ideally at a temperature of 20°C (72°F) to 26°C (80°F). If your kitchen is cool, find ways to maintain warmth.
Day 2: You may observe minor changes, perhaps a few bubbles or a faint milky scent. Remove the lid and add another 25 grams of rye flour and 25 grams of water to the jar. Mix thoroughly, ensuring no dry flour remains, level it off, cover loosely, and adjust the elastic band. Return the jar to its warm spot.
Day 3: Let’s take a peek! You might notice more bubbles and a delightful fruity smell. Open the jar and again add 25 grams of rye flour and 25 grams of water. Mix until smooth, level it off, and loosely cover it. Make sure to adjust the elastic band to track the growth and put it back in its warm location.
Day 4: By now, bubbles may be more abundant and you might even see some increase in volume. However, don’t jump the gun; it’s not ready just yet. Open the jar and add another 25 grams of rye flour and 25 grams of water. Mix well, level off the mixture, cover it loosely, and replace the elastic band. Continue keeping the jar warm.
Days 5 to 7: Keep feeding your starter every day with 25 grams of rye flour and 25 grams of water. You should notice it’s increasingly active, likely smelling pleasantly sour and fruity. By day 7, if your starter consistently doubles in size and then falls after each feeding, it’s ready for baking! If it hasn’t reached this point yet, continue feeding it daily until it does. Ensure it remains in that warm sweet spot of 20°C (72°F) to 26°C (80°F).
Once your starter has shown this reliable rise-and-fall behavior for several days, it is now ready to become part of your baking routine. It’s time to name your starter and treat it as a cherished member of your family!
When you are ready to bake, use the starter when it is at its peak — doubled in size after feeding. Simply take what you need for your recipe and retain a small amount in the jar for future use. Refrigerate this leftover starter, where it can stay without being fed until the day before you plan to bake again. Just remember to feed it to wake it up before the next baking adventure!
Tips & Tricks
To elevate your sourdough starter experience, here are a few extra tips:
-
Scale Up with Whole Wheat: If you want to switch to a more robust flavor, consider integrating whole wheat flour during the feeding process.
-
Hydration Levels: Adjusting the water ratio can fine-tune your starter’s hydration. A thicker starter can yield a more chewy texture in breads, while a looser starter might provide a more open crumb.
Serving Suggestions & Pairings
Once you have your finished sourdough starter, the possibilities are endless! Use it for delicious loaves of bread, pizza dough, or even pancakes with a tangy twist. It pairs beautifully with artisanal cheeses, charcuterie, or can be a classic accompaniment to soups and stews. Prepare for delightfully crispy crusts and airy insides that will impress your family and friends.
Nutritional Information
A serving of sourdough bread made with this starter can be around 200 calories, depending on additional ingredients. It contains essential nutrients like fiber, antioxidants, and beneficial probiotics that promote gut health. Balance is key, so consider enjoying it alongside a diverse array of foods for a wholesome meal.
Storing Tips & Variations
If you need a break from frequent feedings, store the jar in the fridge. It can last for up to two weeks without feeding, just remember to take it out and feed it the night before you want to bake. You can also experiment with various flours like spelt, einkorn, or even gluten-free alternatives such as buckwheat to create different flavor profiles in your bread.
Conclusion
Creating your own Sourdough Starter Recipe is not only rewarding but also a fun venture into the world of baking. Nurturing it through each step is a journey filled with sensory experiences and anticipation. I encourage you to gather your ingredients and try this recipe for yourself. Share your successes, questions, and insights along the way!
FAQs
1. How long does it take for the starter to become active?
Typically, a sourdough starter takes about 5 to 7 days to become fully active, depending on environmental factors such as temperature and humidity.
2. Can I use all-purpose flour instead of rye?
While rye flour is ideal for initial development due to its nutrient density, you can transition to all-purpose flour after the first week if desired.
3. What should I do if my starter doesn’t rise?
If your starter isn’t rising, ensure it is kept at a consistently warm temperature. You may also try using fresher flour or adding a bit more water.
4. Can I make a sourdough starter gluten-free?
Yes! You can create a gluten-free sourdough starter using gluten-free flours like brown rice or buckwheat flour. Follow the same feeding process.
5. How can I tell when my starter is ready to use?
Your starter is ready to use when it consistently doubles in size after feeding and has a pleasant, tangy aroma with visible bubbles throughout.
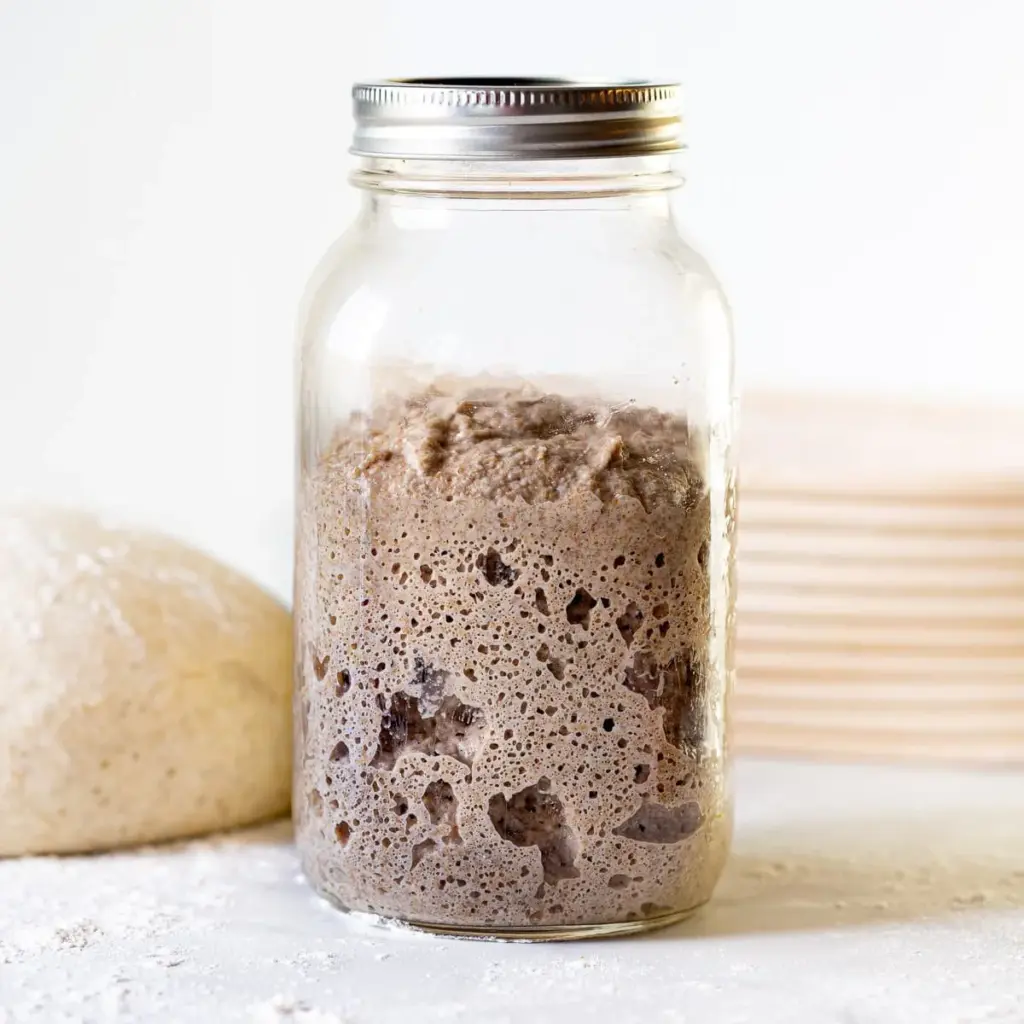
Sourdough Starter
Ingredients
Method
- Select a clean jar or container between 750 ml to 1 liter. Add 25 grams of rye flour and 25 grams of water. Mix until no dry flour remains, cover loosely, and monitor growth with an elastic band.
- Add 25 grams of rye flour and 25 grams of water to the jar. Mix thoroughly, cover loosely, and return the jar to its warm spot.
- Repeat the process by adding another 25 grams of rye flour and 25 grams of water, mixing well and covering loosely.
- Continue feeding with 25 grams of rye flour and 25 grams of water, ensuring to mix well and keep the mixture warm.
- Feed your starter daily with 25 grams of rye flour and 25 grams of water until it doubles in size and has a pleasant sour smell—this indicates it is ready for baking.


Leave a Reply