
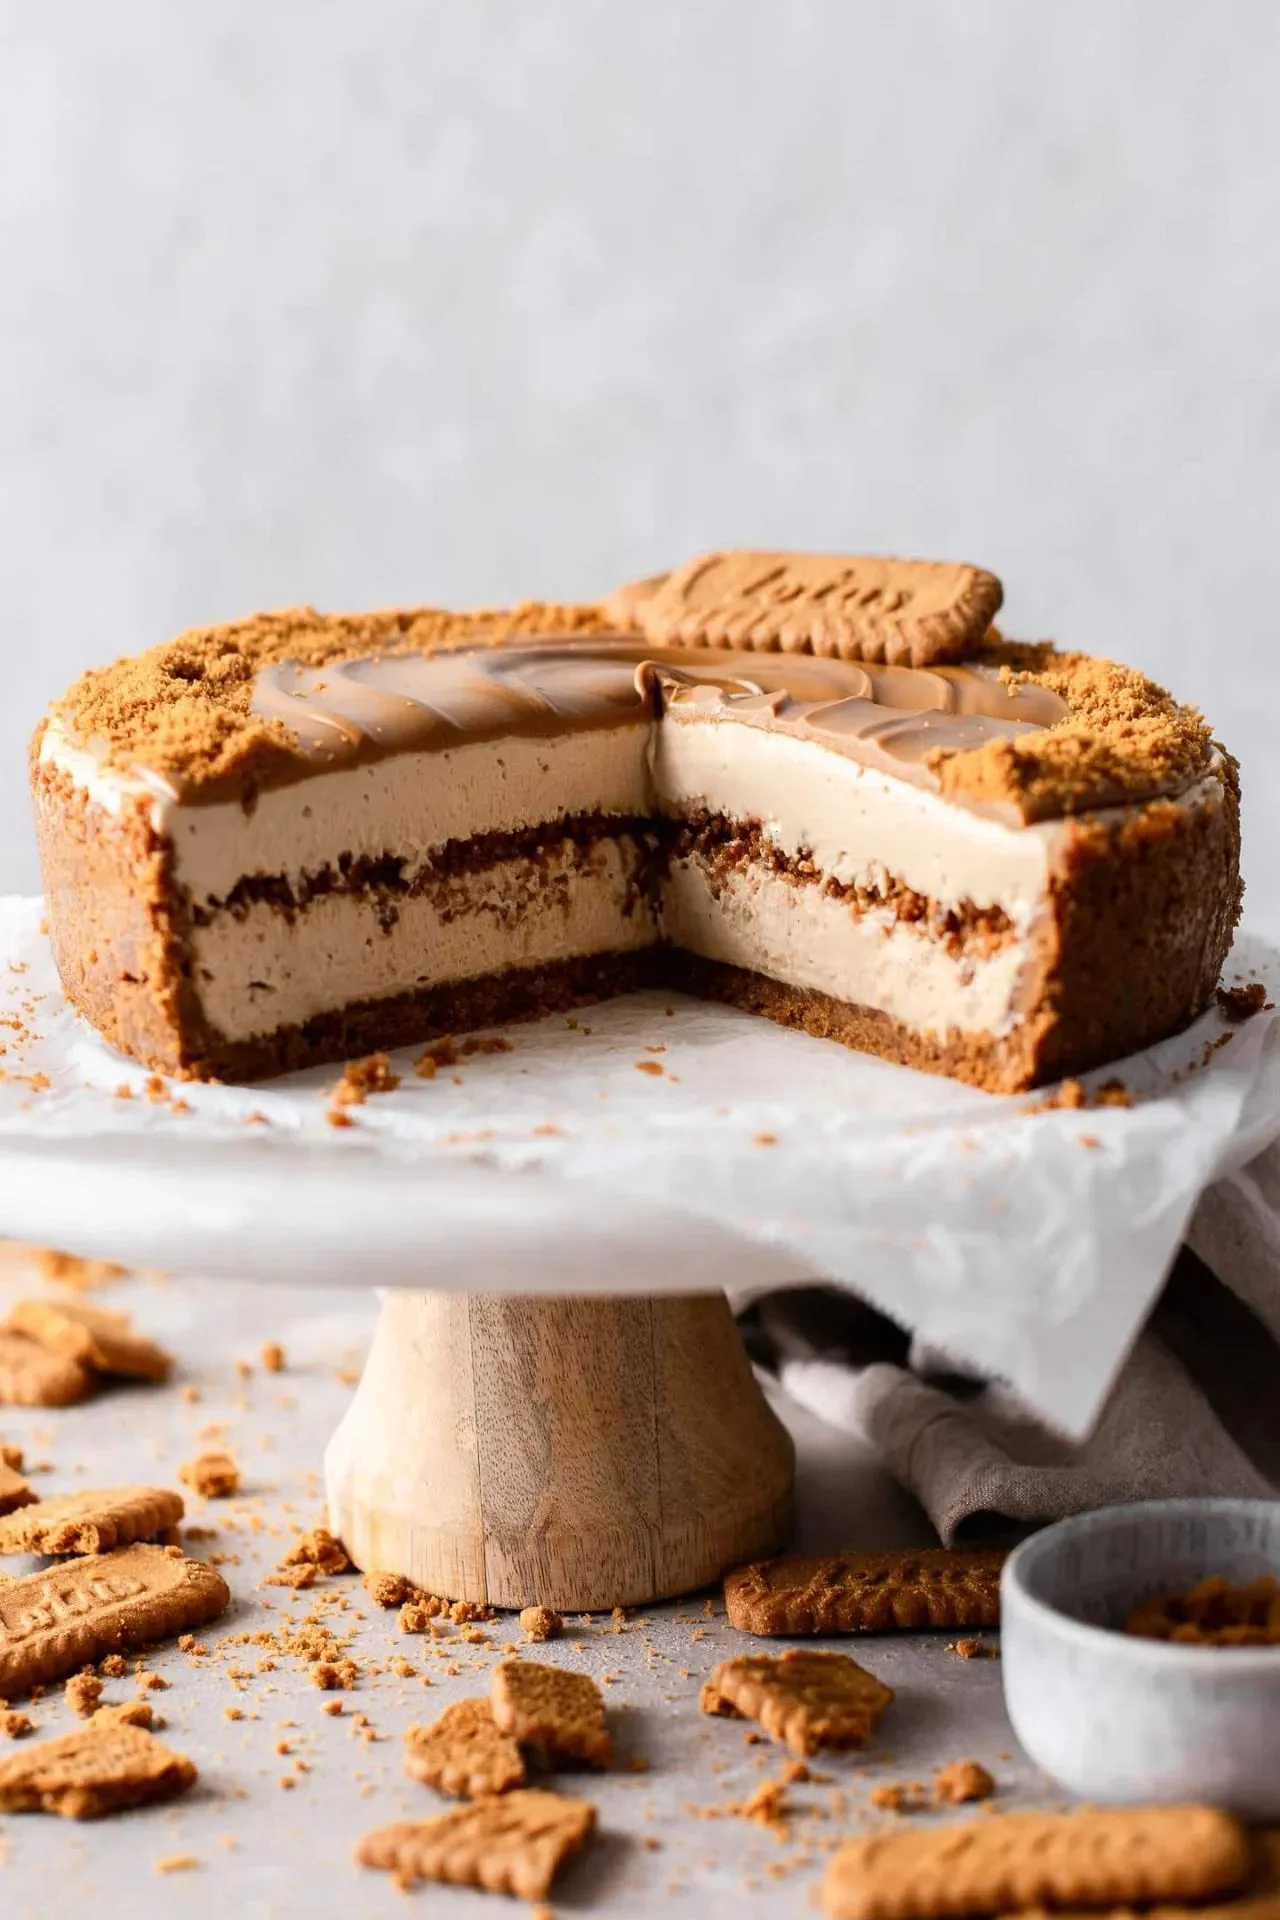
No Bake Biscoff Cheesecake is a delightful dessert that brings a wave of comfort with its creamy, rich, and aromatic profile. This dessert is not only a feast for the taste buds but also for the eyes. It captures the essence of indulgence with layers of luscious cream cheese and smooth Biscoff cookie butter, all enveloped in a buttery Biscoff cookie crust. Perfect for family gatherings or a cozy night in, this cheesecake is a no-fuss recipe that delivers big on flavor and nostalgia. With our step-by-step guide, making this delightful treat is simple and straightforward.
Ingredients
To create this heavenly No Bake Biscoff Cheesecake, gather the following ingredients:
- 3 & 1/2 cups (370g) Biscoff cookie crumbs: These bring a crunchy, caramelized note that perfectly complements the creamy cheesecake.
- 1/4 cup (50g) packed brown sugar: Adds a touch of sweetness with a hint of molasses flavor, enhancing the overall taste.
- 12 tablespoons (175g) unsalted butter, melted and cooled: For richness, it binds the crumb mixture together while adding a delectable buttery flavor.
- 2 (8 oz) blocks full fat Philadelphia cream cheese, at room temperature: The star of the show, offering a creamy and velvety texture that’s essential for the perfect cheesecake.
- 3/4 cup (97g) powdered sugar: Sweetens the cheesecake filling without making it grainy, contributing to the smooth mouthfeel.
- 1 cup (250g) Biscoff creamy cookie butter: The secret ingredient that elevates this cheesecake, adding a layer of rich, spiced flavor.
- 1 teaspoon pure vanilla extract: Offers a warm undertone that complements the Biscoff.
- 1 & 1/2 cups (360mL) heavy whipping cream, cold: This is what helps the cheesecake become airy and light, providing an unbeatable texture.
- 1/2 cup (125g) Biscoff creamy cookie butter: To drizzle on top for added richness and flavor.
- Crushed Biscoff cookies: A finishing touch for decorating, adding a crunchy contrast to the smooth cheesecake.
Step-by-Step Directions
-
Prepare the crust: Start by lining the bottom of a 9-inch springform pan with parchment paper and setting it aside. In a medium bowl, mix together the Biscoff cookie crumbs, brown sugar, and melted butter until everything is moistened and well combined.
-
Form the crust: Transfer about 2/3 of the crumb mixture into your springform pan. Using the bottom of a cup, pack the crust tightly into the bottom and about 3/4 of the way up the sides of the pan. This step is crucial for a firm base.
-
Chill the crust: Place the pan in the fridge while you set the remaining 1/3 of the crust mixture aside at room temperature. This will help it maintain its structure after baking.
-
Make the filling: In a large bowl, use an electric mixer fitted with the paddle attachment to combine the room-temperature cream cheese and powdered sugar on low speed until the sugar is dissolved. Increase the speed to medium-high and whip for about 1 minute until smooth.
-
Incorporate flavors: Scrape down the sides of the bowl. Then, add the Biscoff cookie butter and vanilla extract, mixing until smooth. It’s important to take the time to ensure everything is well integrated.
-
Add the whipped cream: With the mixer running on low, very slowly drizzle in the cold heavy cream. Do this gradually, pausing every 1/2 cup to ensure it’s fully mixed in. This step prevents shocking the room temperature cheese with cold cream.
-
Whip until thickened: After all the heavy cream is added, increase the speed to high and whip until the mixture thickens, leaving distinct ripples when you lift the beater. This will take about 2 to 3 minutes, being careful not to overwhip.
-
Layer the cheesecake: Remove the chilled crust from the fridge and add about half of the cheesecake filling, spreading it into an even layer over the crust. Sprinkle the remaining 1/3 of the crust mixture evenly on top, then dollop the remaining cheesecake filling and spread it out carefully.
-
Chill to set: Cover the cheesecake and place it in the fridge. You’ll want to chill it for at least 6 hours or ideally overnight. This allows the flavors to meld and the cheesecake to set perfectly.
-
Final touches: When ready to serve, gently heat the remaining Biscoff butter in the microwave or over low heat until it’s liquid. Remove the cheesecake from the fridge, unlatch the springform pan, and transfer the cheesecake onto a serving plate.
-
Serve and enjoy: Drizzle the liquid Biscoff butter over the cheesecake and enjoy! If desired, sprinkle some crushed Biscoff cookies on top for added texture. Slice, serve, and watch it disappear!
Tips & Tricks
To enhance your No Bake Biscoff Cheesecake experience, here are a few extra tips. Ensure that all your ingredients, especially the cream cheese and heavy cream, are at the right temperature to achieve the best texture. If you find your filling is too thick to blend well, you can mix in a tablespoon of milk to loosen it. For an extra layer of flavor, consider adding a pinch of salt to the filling to balance the sweetness.
Serving Suggestions & Pairings
This cheesecake is ideal for celebrations, casual get-togethers, or even as a treat for yourself. A cup of freshly brewed coffee or a glass of cold milk pairs beautifully with the rich flavors of the cheesecake. For an elegant touch, garnish with fresh berries or a dollop of whipped cream on the side.
Nutritional Information
Each slice of No Bake Biscoff Cheesecake contains approximately 350 calories, with key nutrition facts including 25g of fat, 30g of carbohydrates, and 4g of protein. Remember, moderation is key to enjoying treats like this while maintaining a balanced diet.
Storing Tips & Variations
To store your cheesecake, keep it covered in the refrigerator for up to 5 days. If you want to prepare in advance, it can be frozen for 1-2 months—just ensure it’s well covered. For variations, you could substitute the Biscoff cookie crust with another type of cookie crust or try a flavored whipped cream on top for a fun twist.
Conclusion
Whether you’re a cheesecake aficionado or a casual dessert lover, this No Bake Biscoff Cheesecake is a must-try. Its creamy texture and the nostalgic flavor of Biscoff make it an unforgettable treat. Don’t hesitate to share your experience and any twists you’ve made to the recipe!
FAQs
-
Can I use a different type of cookie for the crust?
Yes, feel free to substitute the Biscoff cookies with graham crackers or Oreos for a different flavor profile. -
Can I make this cheesecake without heavy cream?
While heavy cream is key for that light texture, you could try using cool whip as a substitute, but the flavor and texture will differ. -
How can I tell when the cheesecake is set?
A properly set cheesecake should be firm to the touch but may still slightly jiggle in the center. It will firm up more after chilling. -
Can I add toppings or mix-ins?
Absolutely! You can mix in mini chocolate chips or top it with chocolate ganache or fresh fruit for an added flair. -
Is this cheesecake halal?
Yes, provided you use halal-certified ingredients, this cheesecake is suitable for those adhering to halal dietary restrictions.
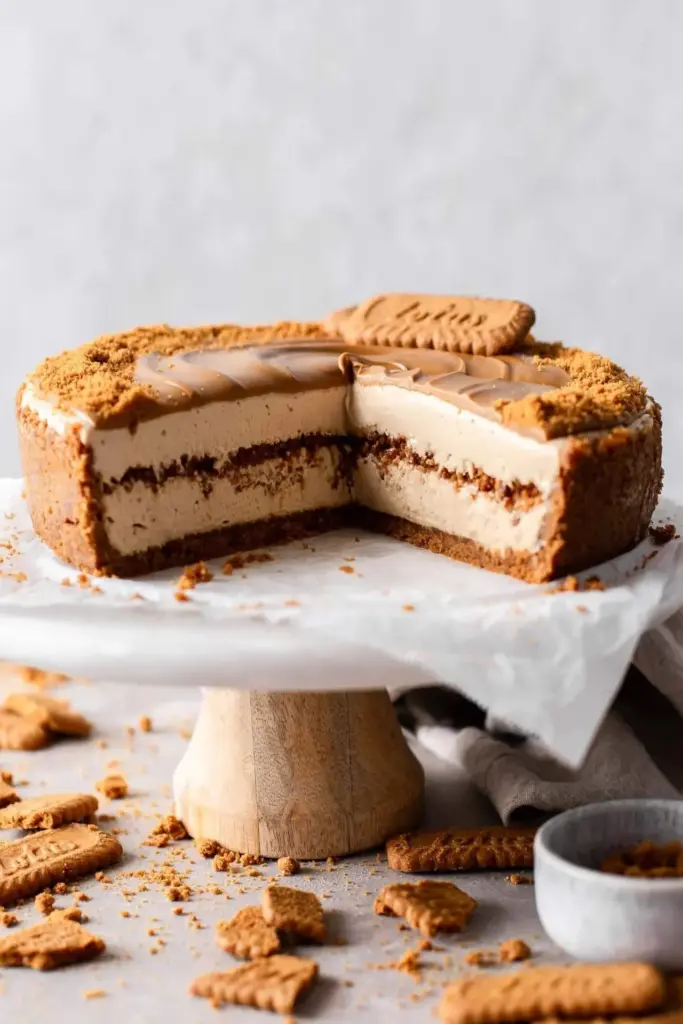
No Bake Biscoff Cheesecake
Ingredients
Method
- Start by lining the bottom of a 9-inch springform pan with parchment paper and setting it aside.
- In a medium bowl, mix together the Biscoff cookie crumbs, brown sugar, and melted butter until everything is moistened and well combined.
- Transfer about 2/3 of the crumb mixture into your springform pan. Using the bottom of a cup, pack the crust tightly into the bottom and about 3/4 of the way up the sides of the pan.
- Place the pan in the fridge while you set the remaining 1/3 of the crust mixture aside at room temperature.
- In a large bowl, use an electric mixer fitted with the paddle attachment to combine the room-temperature cream cheese and powdered sugar on low speed until the sugar is dissolved.
- Increase the speed to medium-high and whip for about 1 minute until smooth.
- Add the Biscoff cookie butter and vanilla extract, mixing until smooth.
- With the mixer running on low, very slowly drizzle in the cold heavy cream, pausing every 1/2 cup.
- After all the heavy cream is added, increase the speed to high and whip until thickened.
- Remove the chilled crust from the fridge and add about half of the cheesecake filling, spreading it evenly.
- Sprinkle the remaining 1/3 of the crust mixture on top, then dollop the remaining cheesecake filling and spread it out.
- Cover the cheesecake and place it in the fridge for at least 6 hours or ideally overnight.
- When ready to serve, gently heat the remaining Biscoff butter until liquid.
- Remove the cheesecake from the fridge, unlatch the springform pan, and transfer it to a serving plate.
- Drizzle the liquid Biscoff butter over the cheesecake, sprinkle with crushed cookies, slice, and serve.


Leave a Reply