
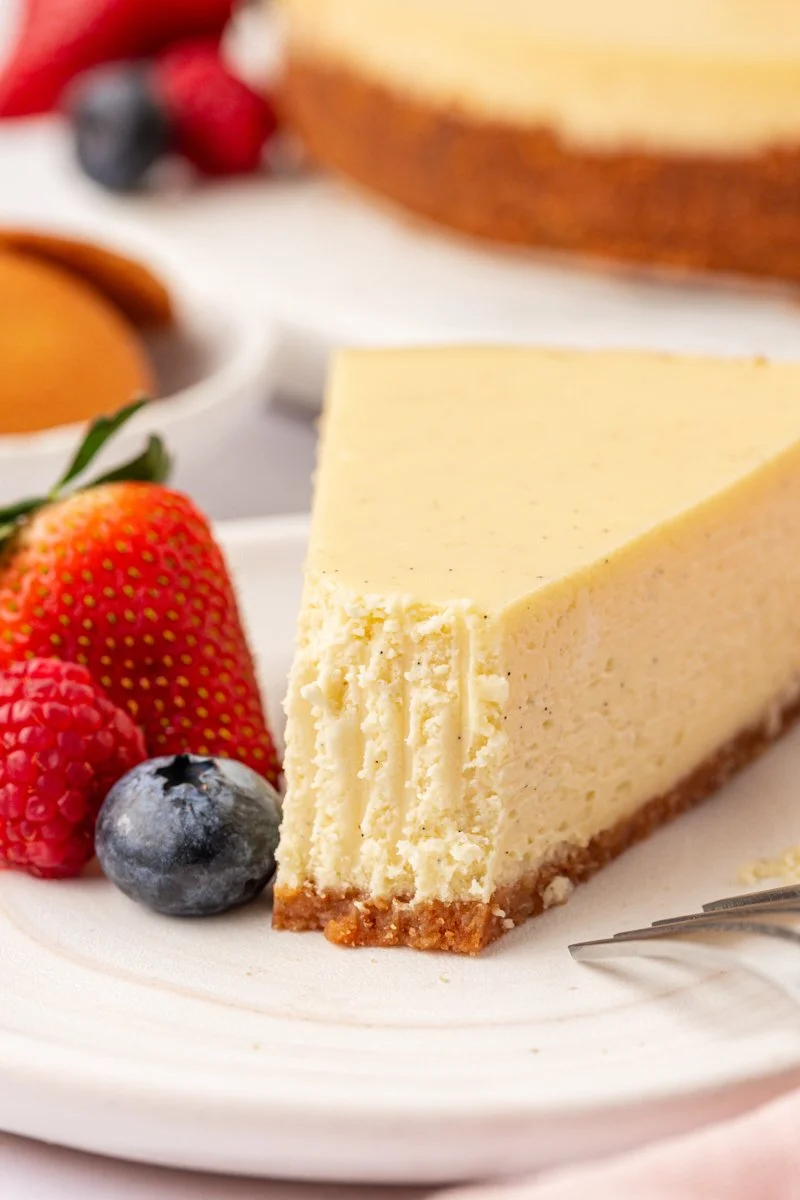
Vanilla Bean Cheesecake is a heavenly dessert that tantalizes your taste buds with its creamy texture and aromatic flavor. With a rich combination of vanilla bean paste and decadent cream cheese, this cheesecake is not just a treat for special occasions—it’s perfect for any day you crave something comforting and delicious. This easy, step-by-step recipe simplifies the cheesecake-making process, making it accessible for both novice and experienced bakers alike. Whether you’re looking to impress guests or indulge in a slice for yourself, this Vanilla Bean Cheesecake is simply irresistible.
Ingredients
To make the best Vanilla Bean Cheesecake, you will need the following ingredients:
-
1 1/2 cups vanilla wafer crumbs
The base of your cheesecake, these crispy crumbs add texture and flavor. -
2 tablespoons granulated sugar
A touch of sweetness to enhance the crust’s flavor. -
1/4 teaspoon salt (optional)
Balancing the sweetness and enhancing the flavors. -
5 tablespoons unsalted butter (melted)
Rich and creamy, it brings the crust together beautifully. -
24 ounces cream cheese (at room temperature)
This is the star of the show, providing that luscious and creamy texture. -
1 cup granulated sugar
Sweetening the filling to perfection. -
3 large eggs (at room temperature)
Binding the ingredients together and adding richness. -
1 tablespoon vanilla bean paste
Bringing a deep, authentic vanilla flavor with those lovely little flecks throughout. -
1/2 cup sour cream (at room temperature)
Adding a touch of tanginess that balances the sweetness. -
Garnish ideas: whipped cream, fresh berries, berry compote, caramel sauce, chocolate shavings, etc.
These toppings elevate your cheesecake and add visual appeal.
Step-by-Step Directions
Step 1: Preheat and Prep
Preheat the oven to 350°F (175°C) and grease a 9-inch round springform pan with cooking spray or butter. This will ensure your cheesecake releases easily once it’s cooled and set.
Step 2: Prepare the Crust
In a mixing bowl, combine the vanilla wafer crumbs, sugar, and salt (if using). Pour in the melted butter and stir until the mixture is thoroughly combined and resembles wet sand. This will form the base of your cheesecake.
Step 3: Form the Crust
Press the crust mixture firmly into the bottom and slightly up the sides of the prepared springform pan. For a crispy crust, bake for 10 minutes. If you prefer a no-bake option, simply chill the crust for at least 30 minutes.
Step 4: Cool the Crust
If you baked the crust, remove it from the oven and allow it to cool. This step is crucial before adding the cheesecake filling to prevent it from melting into the warm crust.
Step 5: Make the Cheesecake Filling
Using an electric mixer on medium speed, beat together the cream cheese and sugar until smooth and creamy, about 2-3 minutes. Add the eggs, one at a time, mixing well after each addition. Then, mix in the vanilla bean paste and sour cream until fully incorporated.
Step 6: Pour the Filling
Carefully pour the cheesecake filling over the cooled crust, spreading it evenly with a spatula.
Step 7: Bake the Cheesecake
To prevent cracks, place the springform pan on a lined, rimmed baking sheet to catch any potential spills. Bake in the preheated oven for 15 minutes.
Step 8: Reduce Temperature and Continue Baking
Lower the oven temperature to 200°F (95°C) and bake for another 2 hours, or until the center is set and no longer glossy.
Step 9: Cool in Oven
Remove the cheesecake from the oven and gently run a thin knife around the edges of the pan to loosen it. Turn off the oven, return the cheesecake to the oven, and leave it in there for an additional 2 hours. This step helps to prevent cracking.
Step 10: Chill the Cheesecake
After cooling, cover the cheesecake loosely with plastic wrap and refrigerate overnight. This will allow the flavors to meld together beautifully.
Step 11: Serve and Garnish
When ready to serve, garnish with your favorite toppings such as whipped cream, fresh berries, or a drizzle of caramel sauce. Enjoy!
Tips & Tricks
- Let your cream cheese come to room temperature before mixing for a smoother filling.
- If you want a more intense vanilla flavor, you can use vanilla extract in addition to the vanilla bean paste.
- Avoid over-mixing the eggs to prevent incorporating too much air, which can cause cracks during baking.
- For a fun flavor twist, consider adding a splash of lemon zest or juice to the filling.
Serving Suggestions & Pairings
Vanilla Bean Cheesecake is perfect for special occasions like birthdays, anniversaries, or even a cozy family dinner. Pair it with a cup of freshly brewed coffee or a chilled glass of dessert wine for an indulgent experience. You can also enjoy it with fresh fruit, berry compote, or a rich chocolate sauce for added flavor dimensions.
Nutritional Information
Each slice of Vanilla Bean Cheesecake (assuming you cut it into 12 servings) contains approximately:
- Calories: 350
- Total Fat: 25g
- Saturated Fat: 15g
- Cholesterol: 80mg
- Sodium: 200mg
- Total Carbohydrates: 30g
- Sugar: 15g
- Protein: 5g
While this cheesecake is a delicious treat, moderation is key. Enjoy it as part of a balanced diet!
Storing Tips & Variations
To store your leftover cheesecake, cover it tightly with plastic wrap or place it in an airtight container. It can be refrigerated for up to a week. If you want to keep it longer, you can freeze the cheesecake (without toppings) for up to 3 months. When ready to eat, thaw it overnight in the refrigerator.
For variations, consider:
- Swapping out the vanilla wafer crust for a graham cracker or Oreo crust.
- Adding flavored extracts like almond or lemon for a creative twist.
- Mixing in chocolate chips or fruit puree into the filling for different flavor variations.
Conclusion
Don’t hesitate to try this Vanilla Bean Cheesecake at home! Its creamy texture and delightful flavor is sure to win over anyone who tastes it. Share your experience with family and friends, and enjoy every delightful bite of this timeless dessert.
FAQs
1. Can I make this cheesecake ahead of time?
Absolutely! Vanilla Bean Cheesecake is a great make-ahead dessert. It tastes better after it has chilled overnight, so make it a day in advance if possible.
2. What can I substitute for sour cream?
You can use Greek yogurt as a substitute for sour cream. It offers a similar tangy flavor and creamy texture.
3. Why does my cheesecake have cracks?
Cracks can occur for several reasons, such as over-mixing, sudden temperature changes, or baking at too high a temperature. Using a water bath while baking and ensuring your ingredients are at room temperature can help reduce cracks.
4. Can I freeze the cheesecake?
Yes, you can freeze the cheesecake. Wrap it tightly and store it in the freezer for up to three months. Just be sure to thaw it in the refrigerator before serving.
5. How can I tell when the cheesecake is done baking?
The cheesecake is done when the center is set but still slightly jiggly. It will continue to firm up as it cools. A toothpick inserted should come out mostly clean with a few moist crumbs.
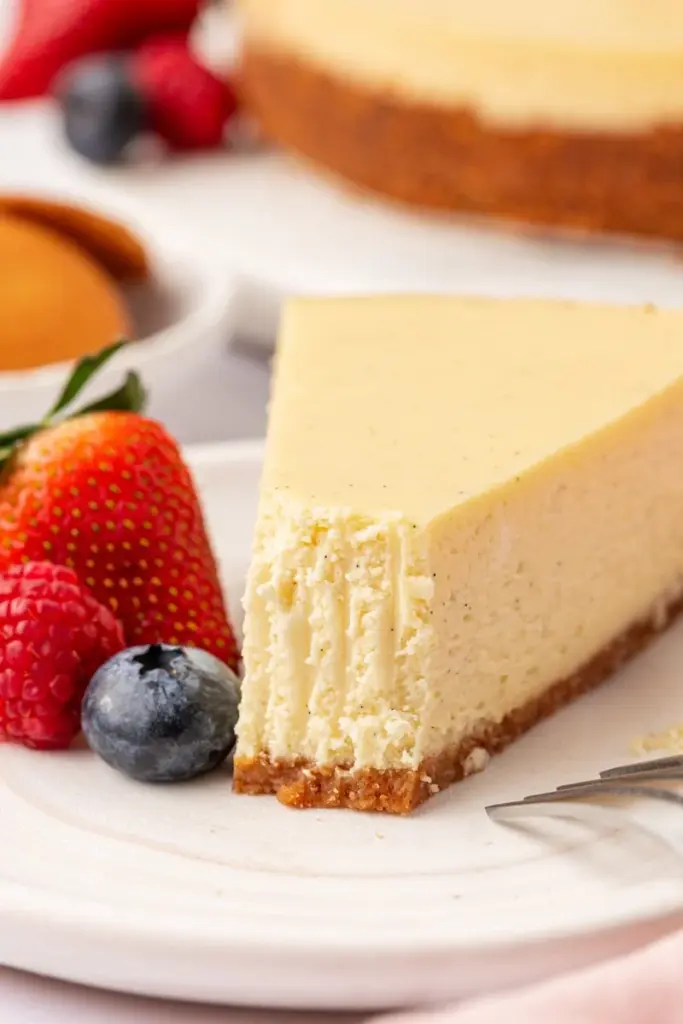
Vanilla Bean Cheesecake
Ingredients
Method
- Preheat the oven to 350°F (175°C) and grease a 9-inch round springform pan with cooking spray or butter.
- In a mixing bowl, combine the vanilla wafer crumbs, sugar, and salt (if using). Pour in the melted butter and stir until the mixture is thoroughly combined and resembles wet sand.
- Press the crust mixture firmly into the bottom and slightly up the sides of the prepared springform pan. For a crispy crust, bake for 10 minutes. If you prefer a no-bake option, simply chill the crust for at least 30 minutes.
- If you baked the crust, remove it from the oven and allow it to cool.
- Using an electric mixer on medium speed, beat together the cream cheese and sugar until smooth and creamy, about 2-3 minutes.
- Add the eggs one at a time, mixing well after each addition. Then, mix in the vanilla bean paste and sour cream until fully incorporated.
- Carefully pour the cheesecake filling over the cooled crust, spreading it evenly with a spatula.
- To prevent cracks, place the springform pan on a lined, rimmed baking sheet to catch any potential spills. Bake in the preheated oven for 15 minutes.
- Lower the oven temperature to 200°F (95°C) and bake for another 2 hours, or until the center is set and no longer glossy.
- Remove the cheesecake from the oven and gently run a thin knife around the edges of the pan to loosen it. Turn off the oven, return the cheesecake to the oven, and leave it in there for an additional 2 hours.
- After cooling, cover the cheesecake loosely with plastic wrap and refrigerate overnight.
- When ready to serve, garnish with your favorite toppings such as whipped cream or fresh berries.


Leave a Reply