
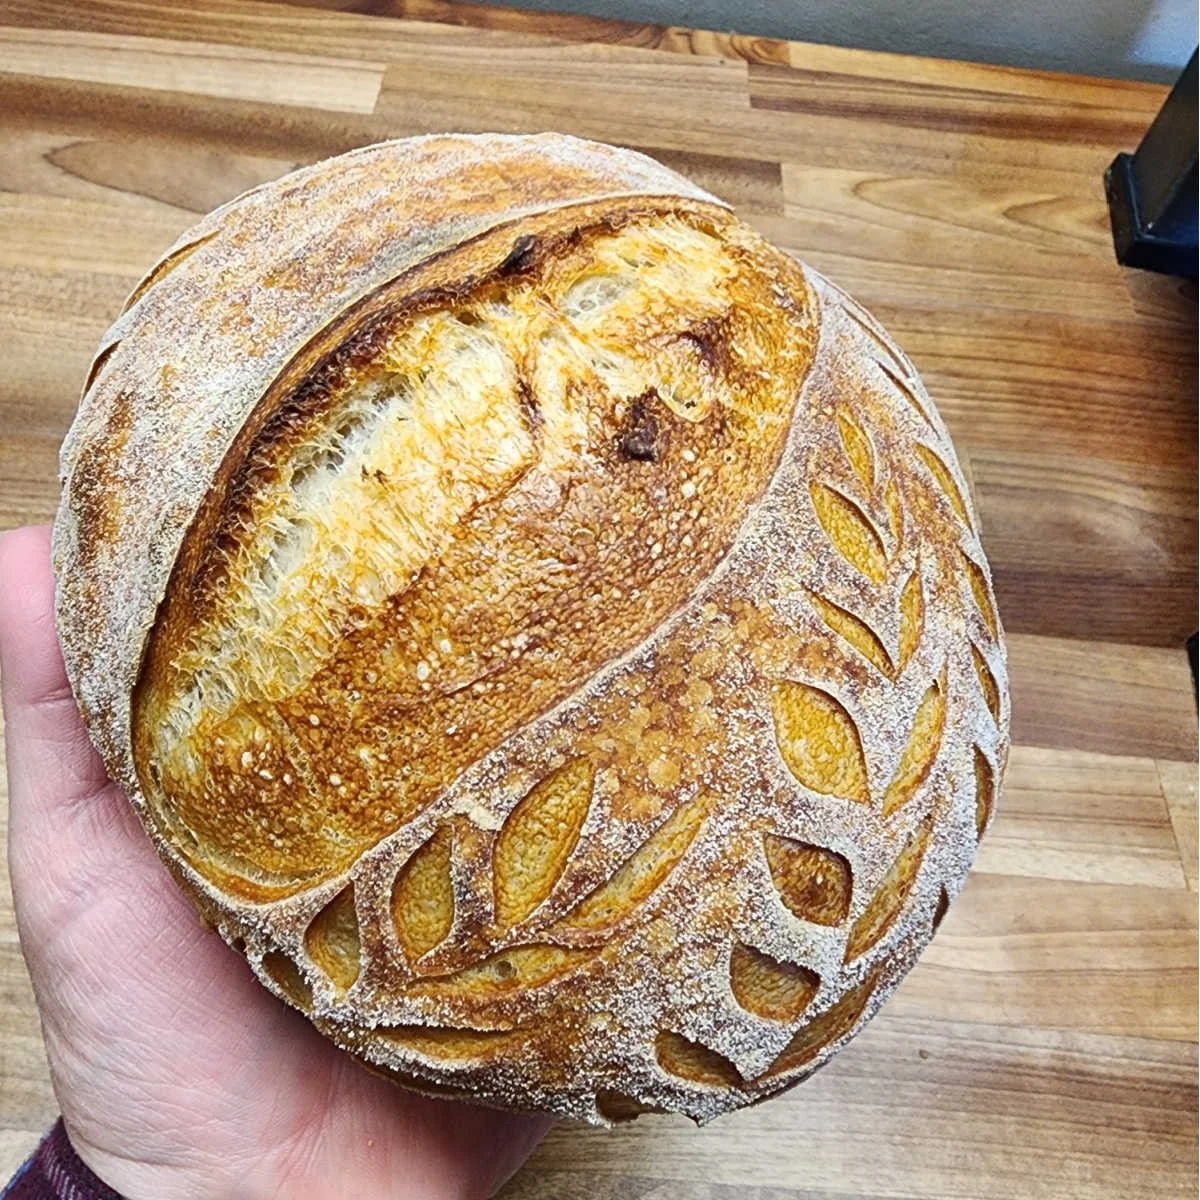
Beginners Sourdough Bread
Beginners Sourdough Bread is an inviting and comforting recipe that brings the warmth of freshly baked bread into your home. The process may seem daunting at first, but fear not! With this step-by-step guide, you’ll have a delicious, artisanal loaf that boasts a flaky crust and a soft, aromatic interior. Homemade sourdough bread is not only easy to make, but it also awakens nostalgic feelings of family gatherings and cozy meals. This recipe is perfect for anyone looking to create a warm atmosphere and share something truly special with loved ones.
Ingredients
- 400 grams unbleached bread flour: A beautiful blend of fluffy unbleached bread flour, all-purpose flour, and nutty whole red wheat flour, creating a rich and nutty flavor.
- 115 grams active sourdough starter: This bubbly and tangy culture gives your bread its signature depth and character, making it an essential ingredient.
- 280 grams lukewarm water: This warm and comforting element binds the ingredients, helping to activate the starter and create a silky dough.
- 8 grams sea salt: The finishing touch, enhancing flavors and adding a hint of minerality to the sourdough loaf.
Step-by-Step Directions
The Night Before
- Feed the Starter: Start by feeding your sourdough starter 4 to 8 hours before you plan to mix the bread. Place it in a warm area (between 78°F and 80°F) to encourage it to rise. You’re looking for it to build bubbles and double in size.
- Refrigeration: Once the starter shows peak fermentation, pop it into the fridge overnight. This will slow down its activity, allowing you to use it at room temperature the next day.
Day of Making Bread
- Get the Starter Ready: Take your ripe starter out of the refrigerator so it can come to room temperature while you prepare the rest of the ingredients.
- Mix Flour and Water: In a large bowl or plastic container, combine the flour and lukewarm water. Use a dough whisk to mix until the dough is well combined. Don’t worry about it looking shaggy—it essentially means you’re on the right track!
- Rest Time: Cover the mixture and let it rest in a warm area for a minimum of 1 hour, or up to 3 hours. This stage is crucial as it hydrates the flour and starts building gluten.
Incorporating the Starter
- Add the Starter and Salt: Once the resting period is complete, add the ripe starter over the dough. Sprinkle the sea salt on top. With wet fingers, gently incorporate the starter and salt into the dough until they’re fully combined.
- Cover and Let Rest: Cover the bowl with a damp cloth or plastic wrap and allow it to rest for another hour. This encourages a stronger gluten structure.
Stretch and Fold Technique
- Perform Stretch and Folds: With slightly wet hands, pinch the dough, stretch it upward, wiggle a bit, and fold it back down. Turn the bowl and repeat this process about six times. This technique builds strength in the dough.
- Set Intervals: Repeat the stretch and fold at 30-minute intervals. Aim for four sets total during this bulk fermentation phase.
- Monitoring the Dough: Keep an eye on the dough, looking for it to rise 40-70% in volume with bubbles forming. The process should take 3-7 hours, depending on your home’s temperature.
Pre-Shape and Final Shaping
- Pre-Shape: Once your dough is bubbly and has risen, dump it onto a lightly floured work surface. Shape it into rounds, creating tension in the dough.
- Rest: Set the rounds aside to rest for 20 minutes, uncovered.
- Final Shape: For the final shaping, flip the dough over and stretch it into a rectangle. Fold it in sections towards the center. Then, roll it tightly, tucking the ends in to form a shaped loaf.
Cold Proofing
- Basket Preparation: Place your shaped dough in rice-floured bannetons. You can cover them with a plastic bag or inexpensive shower caps to keep them moist during the cold proofing.
- Refrigeration: Let the dough sit in the fridge for at least overnight or up to 36 hours. This cold fermentation deepens the sour flavor and improves the bread’s texture.
Baking
- Preheat the Oven: Preheat your oven to 550°F for at least an hour with your Dutch oven inside to heat up.
- Prep for Scoring: Remove the proofed dough from the fridge and uncover. Gently flour the surface and place a piece of parchment paper over it as you prepare to flip it out of the banneton.
- Score the Bread: Using a bread lame, score the dough just before you place it in the Dutch oven. This allows the bread to expand properly in the oven.
- Baking Steps: Place the dough into the preheated Dutch oven, cover with the lid, and bake for 20 minutes. Lower the temperature to 450°F, remove the lid, and bake for an additional 15 minutes, checking for a rich golden color.
Cooling
- Cool Down: Carefully take the bread out of the pot and let it cool for at least 1-2 hours before slicing. This step is essential to allow the structure to set properly.
Tips & Tricks
- Hydration Levels: Experiment with the hydration of your dough for a different crumb structure. A wetter dough leads to an airier loaf.
- Temperature Management: If your kitchen is cooler, consider placing the dough in a warm place or using an oven with the light on to assist with fermentation.
- Use a Timer: Keep a kitchen timer handy to help you stay on track for your stretch and fold sessions.
Serving Suggestions & Pairings
Serve your freshly baked sourdough bread warm, perhaps with a smear of butter, or elevate it with creamy cheeses and fresh herbs. It’s perfect for sandwiches filled with wholesome ingredients or as part of a charcuterie board. This rustic bread complements soups, stews, and salads beautifully, making it versatile for any meal.
Nutritional Information
A typical slice of sourdough bread contains approximately 80 calories, providing carbohydrates, protein, and essential vitamins from the flour. It’s a good source of energy with a balance of nutrients when enjoyed in moderation as part of a varied diet.
Storing Tips & Variations
To store your sourdough bread, wrap it in a clean kitchen towel and place it in a bread box to keep it fresh for about 2-3 days. For longer storage, slice and freeze it. To reheat, simply pop the slices in a toaster or oven. You can also experiment with variations, such as incorporating herbs, cheeses, or even nuts into the dough for a unique flavor profile.
Conclusion
Whether you’re a seasoned baker or new to the kitchen, this Beginners Sourdough Bread recipe is a wonderful project. It invites creativity and enjoyment, bringing joy to both the baker and those fortunate enough to taste the results. We encourage you to give this recipe a try and share your experience. Happy baking!
FAQs
-
Can I use regular flour instead of bread flour?
Yes, you can, but the texture and rise might be different. Bread flour has higher protein content, which helps gluten development. -
What should I do if my dough isn’t rising?
Check the warmth of your environment. If it’s too cold, the dough may not ferment properly. Try placing it in a warmer location. -
How do I know when my sourdough is ready to bake?
Your dough should have increased in size by 40-70% with visible bubbles. A slight dome on the edges is a good sign. -
Can I add ingredients like cheese or herbs to my sourdough?
Absolutely! You can fold in cheese, herbs, or nuts during the stretch and fold stages for added flavor. -
Why do I need to cool the bread before slicing?
Cooling allows the steam to escape and the bread’s interior structure to set properly, ensuring a better slice.
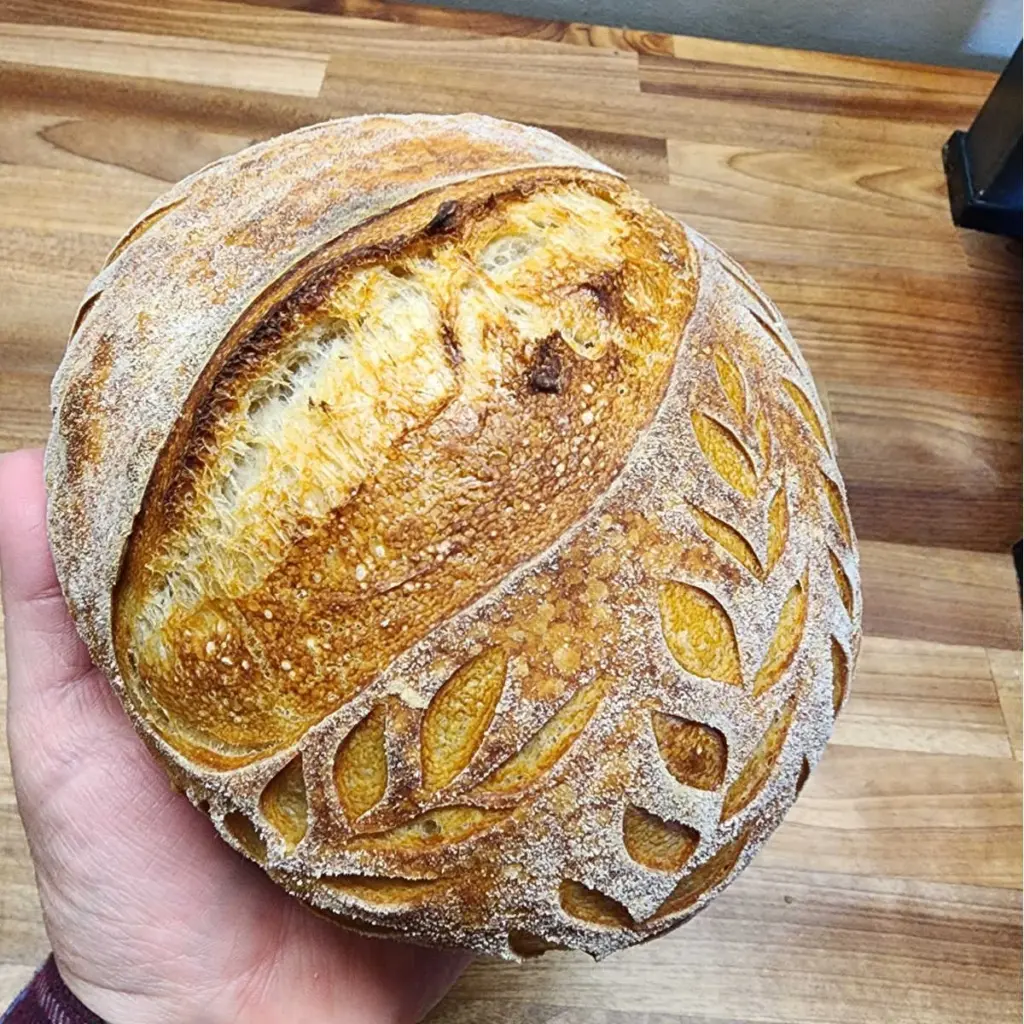
Beginners Sourdough Bread
Ingredients
Method
- Feed the starter 4 to 8 hours before mixing the bread and let it rise in a warm area.
- Once the starter shows peak fermentation, refrigerate it overnight.
- Take the starter out of the fridge to come to room temperature.
- In a large bowl, mix the flour and lukewarm water until combined.
- Cover the mixture and let it rest for 1 to 3 hours.
- Add the ripe starter and sea salt to the rested dough and mix until combined.
- Cover the bowl and let it rest for another hour.
- Perform stretch and folds every 30 minutes, for a total of four sets.
- Monitor the dough for a 40-70% rise and bubble formation over 3-7 hours.
- Dump the dough onto a floured surface and shape into rounds.
- Let the rounds rest for 20 minutes.
- Final shape the dough into a tight loaf.
- Place the dough in rice-floured bannetons and cover for cold proofing.
- Refrigerate for at least overnight or up to 36 hours.
- Preheat your oven to 550°F and heat your Dutch oven.
- Score the dough and place it in the Dutch oven, baking covered for 20 minutes, then uncovered for 15 minutes.
- Remove the bread from the pot and let it cool for 1-2 hours before slicing.


Leave a Reply